Week 5, 3D Scanning and Printing

This week assignment tasks are

a) Test the design rules for your printer(s) (group project).

b) Design and 3D print an object (small, few cm) that could not be made subtractively.

c) 3D scan an object (and optionally print it) (extra credit: make your own scanner).


Testing the Design Rules

I downloaded 2 files Massive Overhang Test and Test your 3D printer from Thingiverse. (Hover over them, right click and click Open link in new tab)

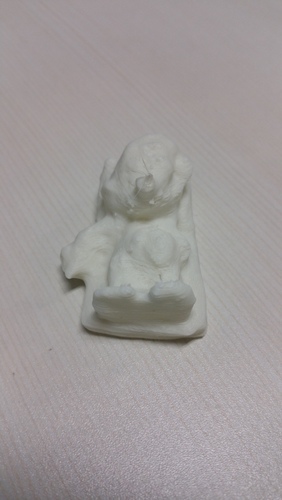
The first file is used to test the overhang limits and capabilities of the Ultimaker 2 3D printer, which i am going to use for this week assignment. The filament type is PLA.

This was what it looks like in Cura

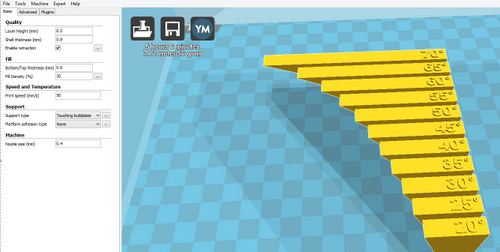
Overhang Angle Test Print


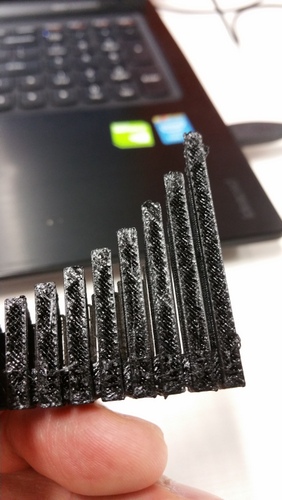
Actual Overhang Test Print

From the actual print you can observe 60 degrees overhang would still give you a good print without support. Printing at 70 degrees already starts to give problem. Printing above the 70 degree threshold without support would certainly failed the printing.

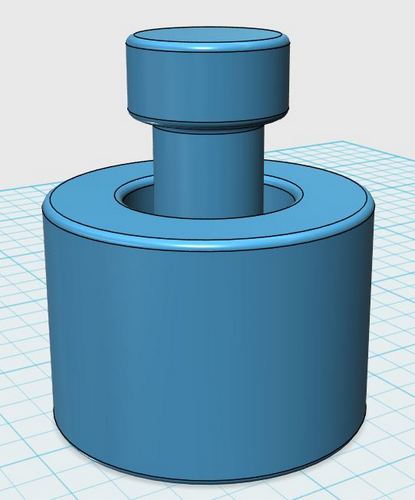
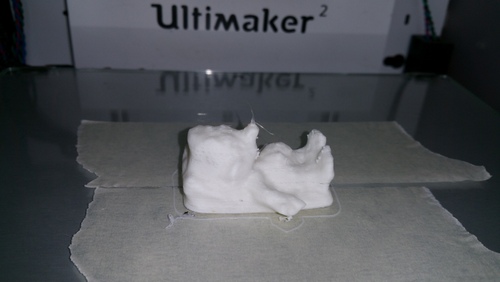
The second file is used t test the capabilities of the Ultimaker 2 printer.
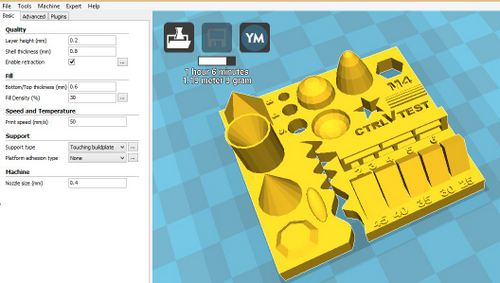
3D Printers Test


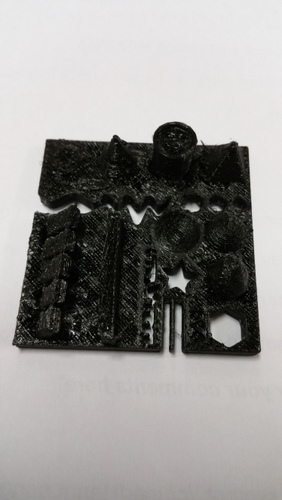
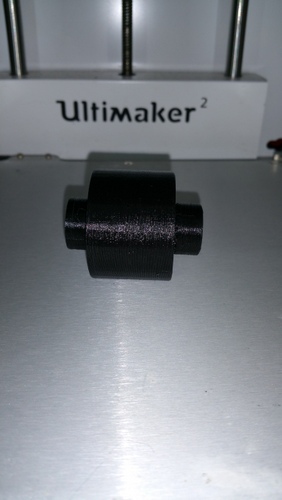
Actual 3D Printer Test

The informtion from these 2 prints let me get acquainted and gave me a better picture of the limits of the 3D printer and how should the product be design.

I came across this website STL Finder quite useful. (Hover over it, right click and click Open link in new tab). It contains plently of STL files of different shapes and sizes to help you test run your 3D printers.

Designing a product that could not be made subtractively and 3D print it.

Subtractive methods involved materials removal from a larger source. But the limitations cutting and routing methods cannot create hollow parts in a single piece. The shaft in the cylinder can tranverse within it but cannot be removed nor assembled. Which is easily produced using 3D print because it is an additive method and only this method can produce this type results.

123D Design was the application I used to produce this drawing Week 5 3D Print (Click Open link in new tab followed by clicking on the download icon)


Week 5 3D

The results after a successful print.


Week 5 3D

3D Scan and Print

I used my smartphone as a 3D scanner with 123D Catch application installed. I followed up with 123D Catch tutorials to familiarize the techniques and methods to achieve a good 3D scan.
My first attempt in using an owl porcelain figurine.


Nice Looking Owl

This was what it looks like after 3D scanning. It looked ugly and scar.


Distorted Owl

The two most probable reasons why it failed were;
Firstly, the focus distance to the object were very inconsistent as I moved around the object.
Secondly, I failed to realize was the figurine was glossy which might caused the 3D picture to be quite distorted after stitching.

My second attempt was to use a matted finishing of a sleeping smurf figurine.


This was what it looks like after 3D scanning.


The end of bed frame and smurf's feet were quite blur and giant hole in the bed frame. The main reason for the failure again was because I took the picture at the same location thrice.

My third attempt was to use the same sleeping smurf figurine without the bed frame.


This was what it looks like after 3D scanning.


Finally a 3D scan I can use.


Smurf Screen Capture on 123D Catch

How to save File before using Meshmixer to repair the 3D scan

After you are satisfied with what you had scan, you have to perform the following steps.

1. Save the file as a .3dp format in 123D Catch

2. Quit and relaunch 123D Catch. (I don't know why but I have to perform this step. You guys might not need to.)

3. Open the .3dp file and use the "Export Capture as" command

4. Make sure the file is a .obj format.

5. Now you are done and good to go.

Using the Meshmixer

Import the .obj file into the Meshmixer as shown.


Now you will need to remove background by following clicking on the Select, click Uwrap Brush, select size 30 and carefully draw around the figurine.
After you are done, type X to discard the perimeter you had just highlighted.
The reason for doing this is reduce the chances of accidental delete of the image you want.
Then using the same method, highlight the rest of the unwanted images and discard them.

Click on Clear Selection if you are not satisfy with you had highlighted.
Next click Analysis followed by Inspector and Auto Repair. This is to cover the holes in the images


Next click Edit and Plane Cut. Adjusted to the plane you want to flat out and click Accept.
This will allow the object to have a flat bottom.


If you rotated to view from bottom, you will notice there are 2 holes. One below the hand and the other on the bed frame.


You will need to remesh these holes.
First click on Select, Uwrap Brush, select size 10 and carefully go over the gray patch below the hand and bed frame.


Then click on Remesh.


Finally export the object as a .stl in STL Ascii format.

Using Cura

Launch the Cura and Load the file .stl onto the platform. Ensure Ultimaker 2 is selected under Machine.
You must also be in Expert and Switch to full setting. This will allow you to have better control over the printing operations of your object.

Smurf.stl File is larger than 80Mb) Click Open link in new tab followed by clicking on the download icon

I had scaled the object proportionally to 50mm in the X axis.
The settings used were:
Infill = 10%
Support type = None
Platform adhesion type = Brim
Platform Temperature = 50 Degrees C
Nozzle Temperature = 210 Degrees C

The final result of the 3D print.


My comments

The most important aspect in this assignment is to understand the charactistics of your own printer and design limitations for 3D print. Using the Meshmixer proved to be quite a challenge and a test of patience. The software crashes about 3 times over a span of 6 hours of continuous usage. From observations, some of its functions exhibited slow response which caused you to click on the icon a scond time. This sometimes hang the operations. I wouldn't go so far to give a thumbs down but once you give it some patience you will know its actually quite a great tool to use when repairing your 3D scan object.